

scenario library documentation.
1. Installation
Install thescenario library in your project:
- Python
- TypeScript
bash uv add langwatch-scenario 2. Configure Environment Variables
Create a.env file in the root of your project:
.env
LANGWATCH_API_KEY in your LangWatch project settings.
3. Create a Basic Scenario
Create an agent adapter that calls your agent, then run a scenario against it. For the integration patterns, see the agent integration guide.- Python
- TypeScript
4. Grouping Your Scenarios into Test Suites and Batches
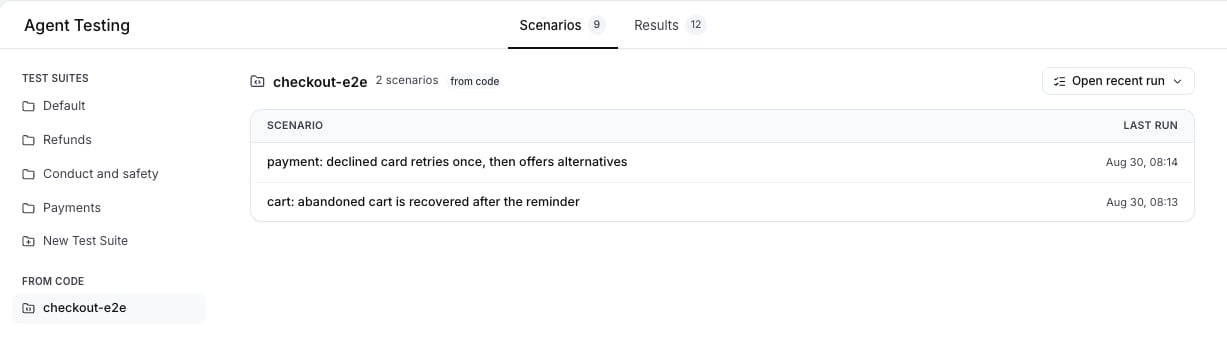
Set stable identifiers for your scenarios, test suites and batches, so LangWatch groups the runs the same way every time:id: A unique and stable identifier for your scenario. Without it, the id comes from thename, and renaming the test starts a new history.setId: The test suite of the scenario. It appears under From Code on the Scenarios tab, and its runs go under a run plan of the same name on the Results tab.batchId: Groups every scenario run together in one execution, for example one CI job. A CI variable such asprocess.env.GITHUB_RUN_IDis a good value.
- Python
- TypeScript
5. Let the Judge Read Your Traces
When your adapter calls an agent that runs as a separate service, the judge cannot see what happens inside it. Turn on trace fetching and the judge also reads the traces your agent reports to LangWatch, one per conversation turn, before its verdict:- Python
- TypeScript
input.propagation_headers (Python) or input.propagationHeaders (TypeScript) onto your adapter’s outgoing HTTP request, so the remote service joins each turn’s trace. Linking your traces covers the mechanism, the wait behavior, and how to write trace-aware criteria.
Also check: Evaluators on Scenarios in the Scenario documentation, for an evaluator declared in the test itself that grades every run against a golden answer, with the same mappings and the same gate as one attached on the platform.