

This page is for organizations whose single sign-on LangWatch set up on their
behalf, usually after a request to support. If you connected your identity
provider yourself in Settings > Authentication, you already run it and
this guide does not apply to you. Single sign-on is an Enterprise feature.
What changes, and what does not
- Sign-in stays the same until you switch over. Registering your identity provider puts it beside the sign-in you have today. Everyone keeps signing in the way they do now until an administrator switches sign-in over.
- You can switch back. After switching over, one action returns everybody to the previous provider. That stays available until you start finishing the update.
- Finishing is the only one-way step. Finishing takes access through the previous provider away. LangWatch refuses to finish while any condition on the page is still outstanding, so your organization always keeps a way in. It never waits for members: each one moves across at their next sign-in.
- Data, roles and teams are untouched. Members keep their accounts, role assignments and history. The update changes how they sign in, not who they are.
Before you start
- You need to be an organization administrator, or hold the
sso:managepermission. Someone who can only view single sign-on sees the status of the update, but no form. - Your organization must be on an Enterprise plan. Otherwise the page tells you the plan is what refuses, not a generic error.
- You need access to your identity provider’s admin console to create an application for LangWatch. The page tells you which addresses to give it.
- Pick a colleague who has set a password on their LangWatch account. Before the update can finish, at least one person must be able to sign in without your identity provider.
- If directory sync (SCIM) provisions your people today, it keeps working for you. It moves to the new connection when you finish. See Directory sync.
1. Open the Authentication overview
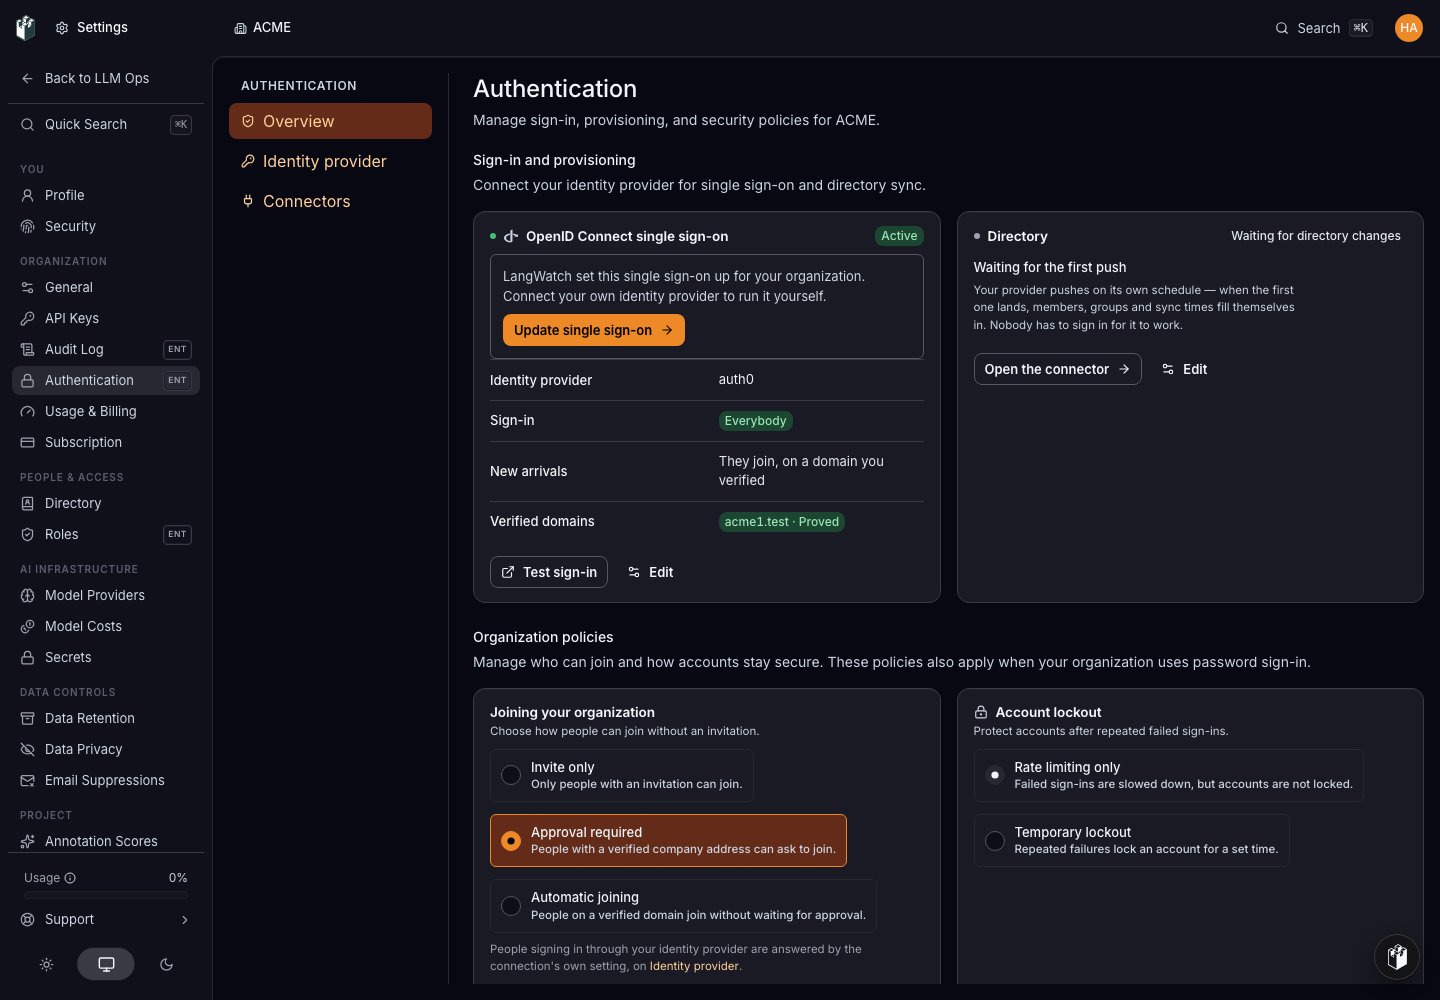
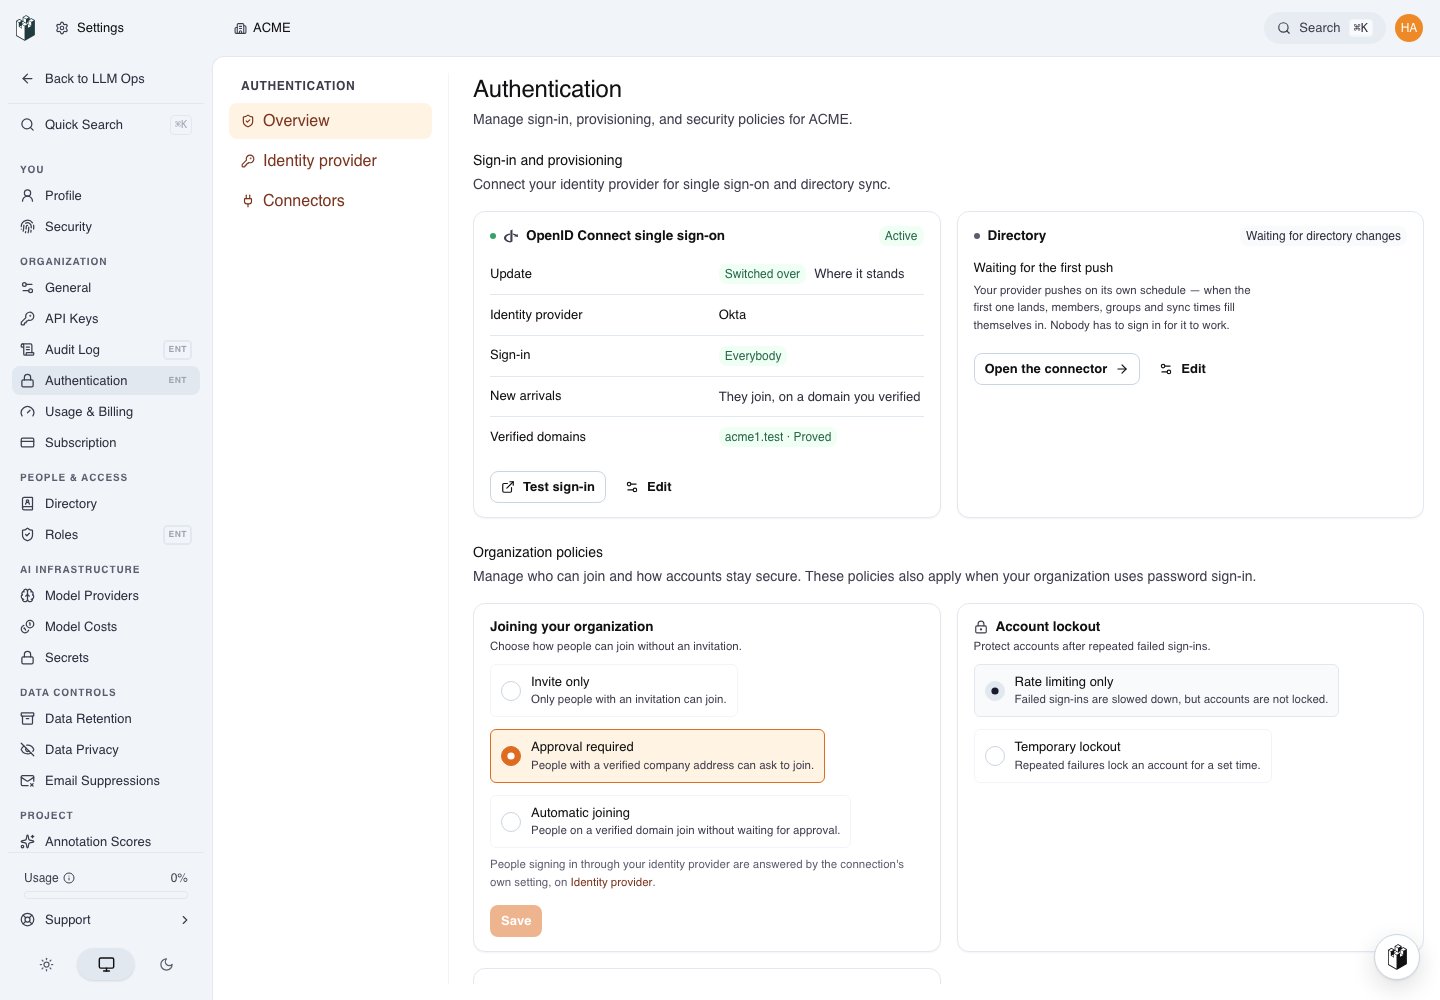
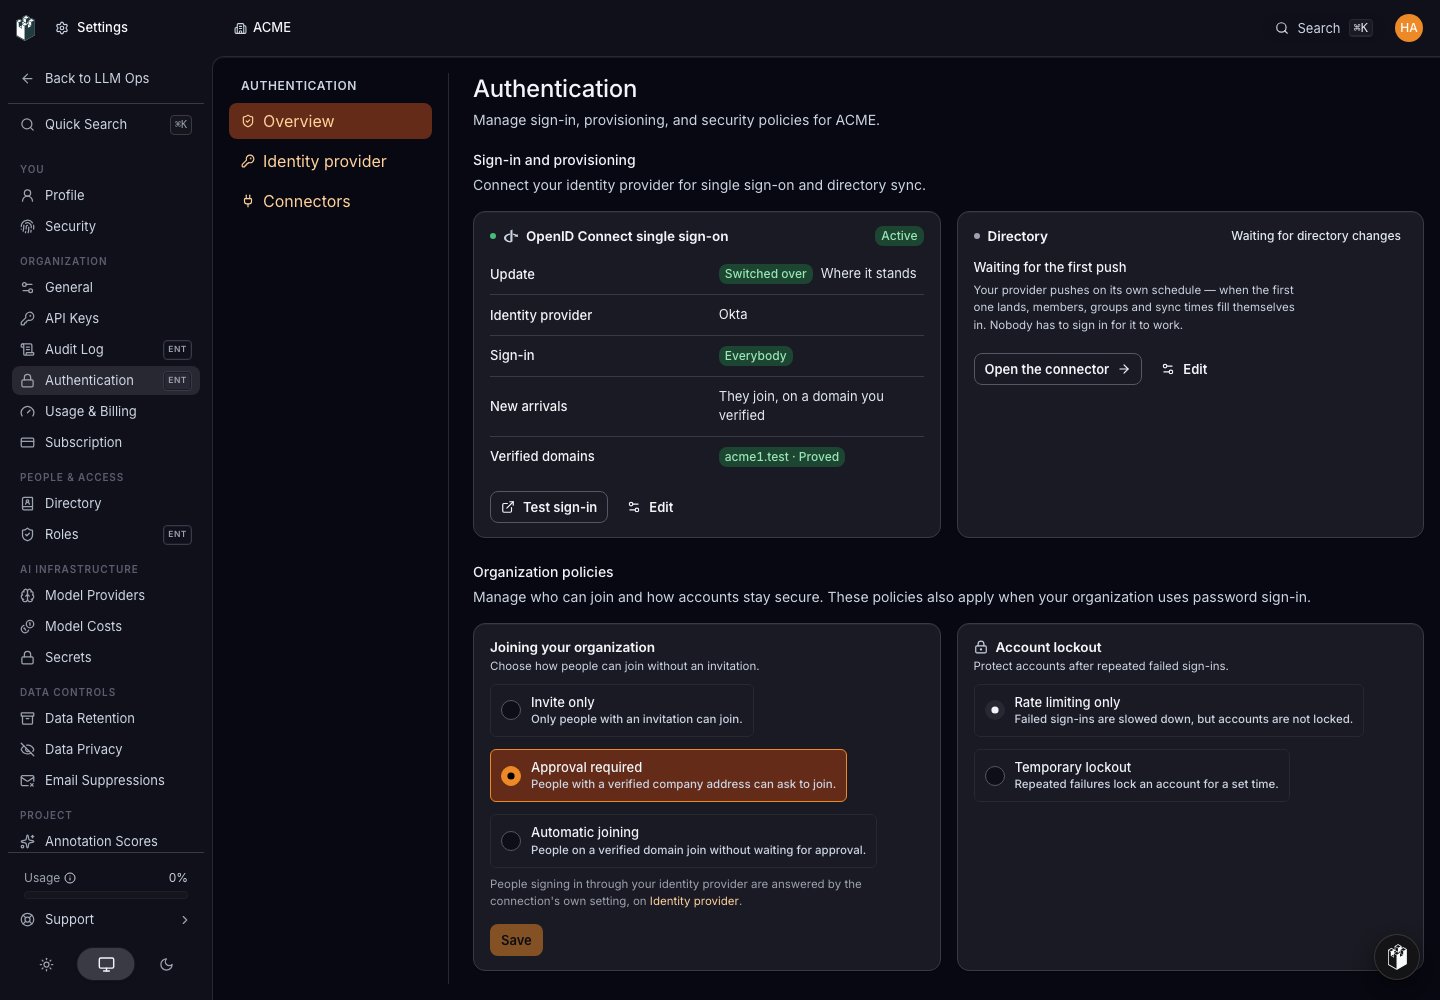
Open Settings > Authentication. When LangWatch set your single sign-on up, the Single sign-on card says so and offers Update single sign-on. Nobody else in your organization sees this action.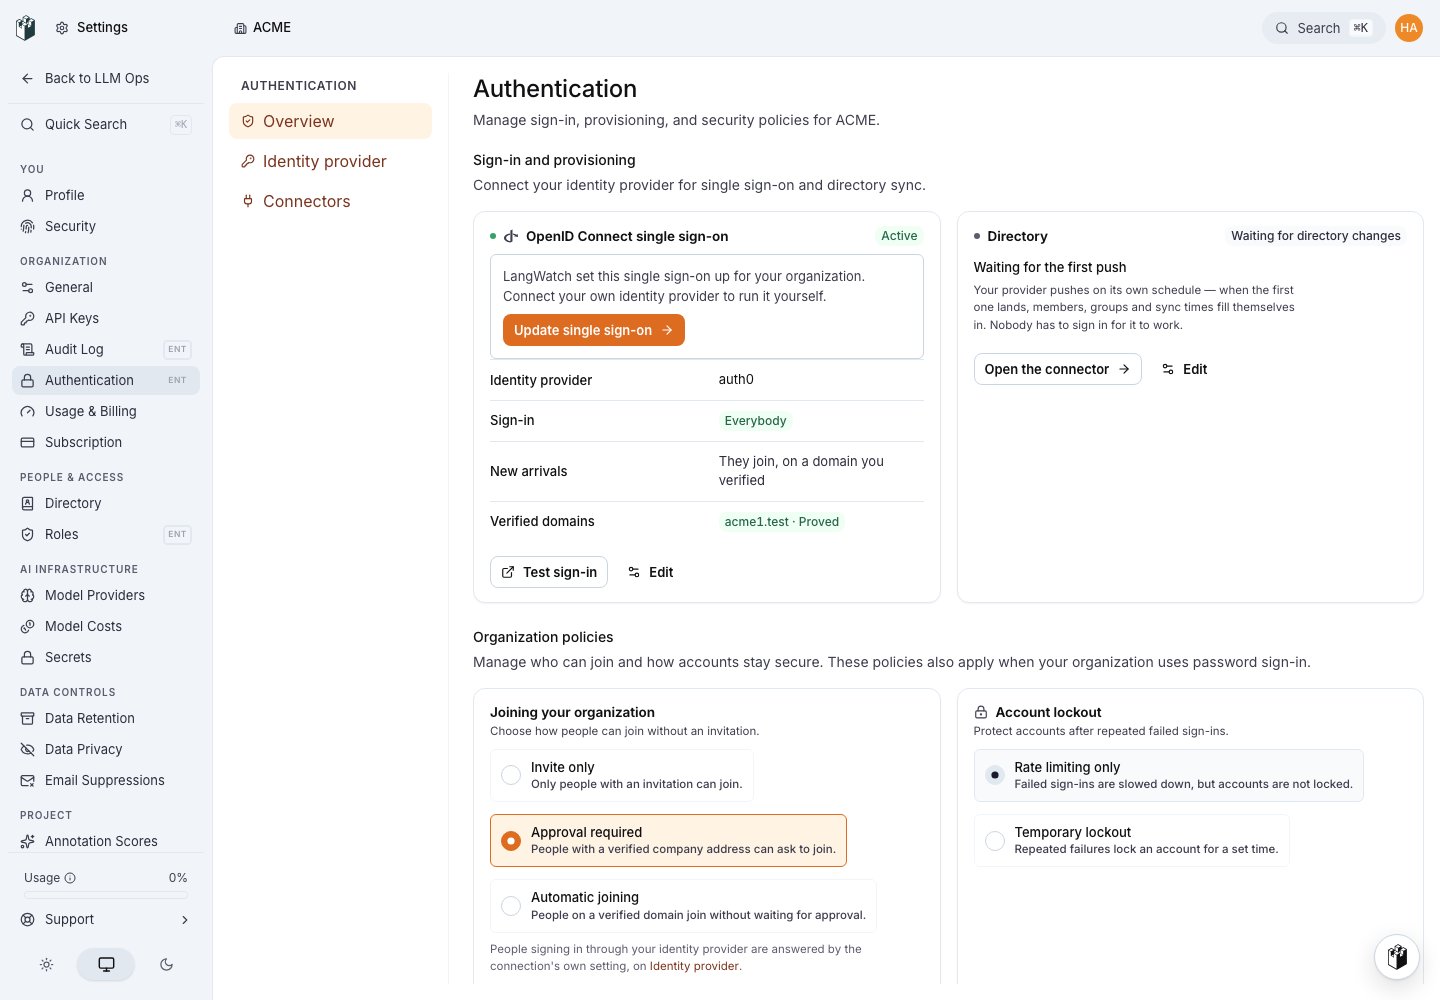
2. Register your identity provider
The Single sign-on page confirms that single sign-on is active and shows which provider signs your people in today. Below it, Update single sign-on repeats the promises above, then asks for the same details as a first-time setup.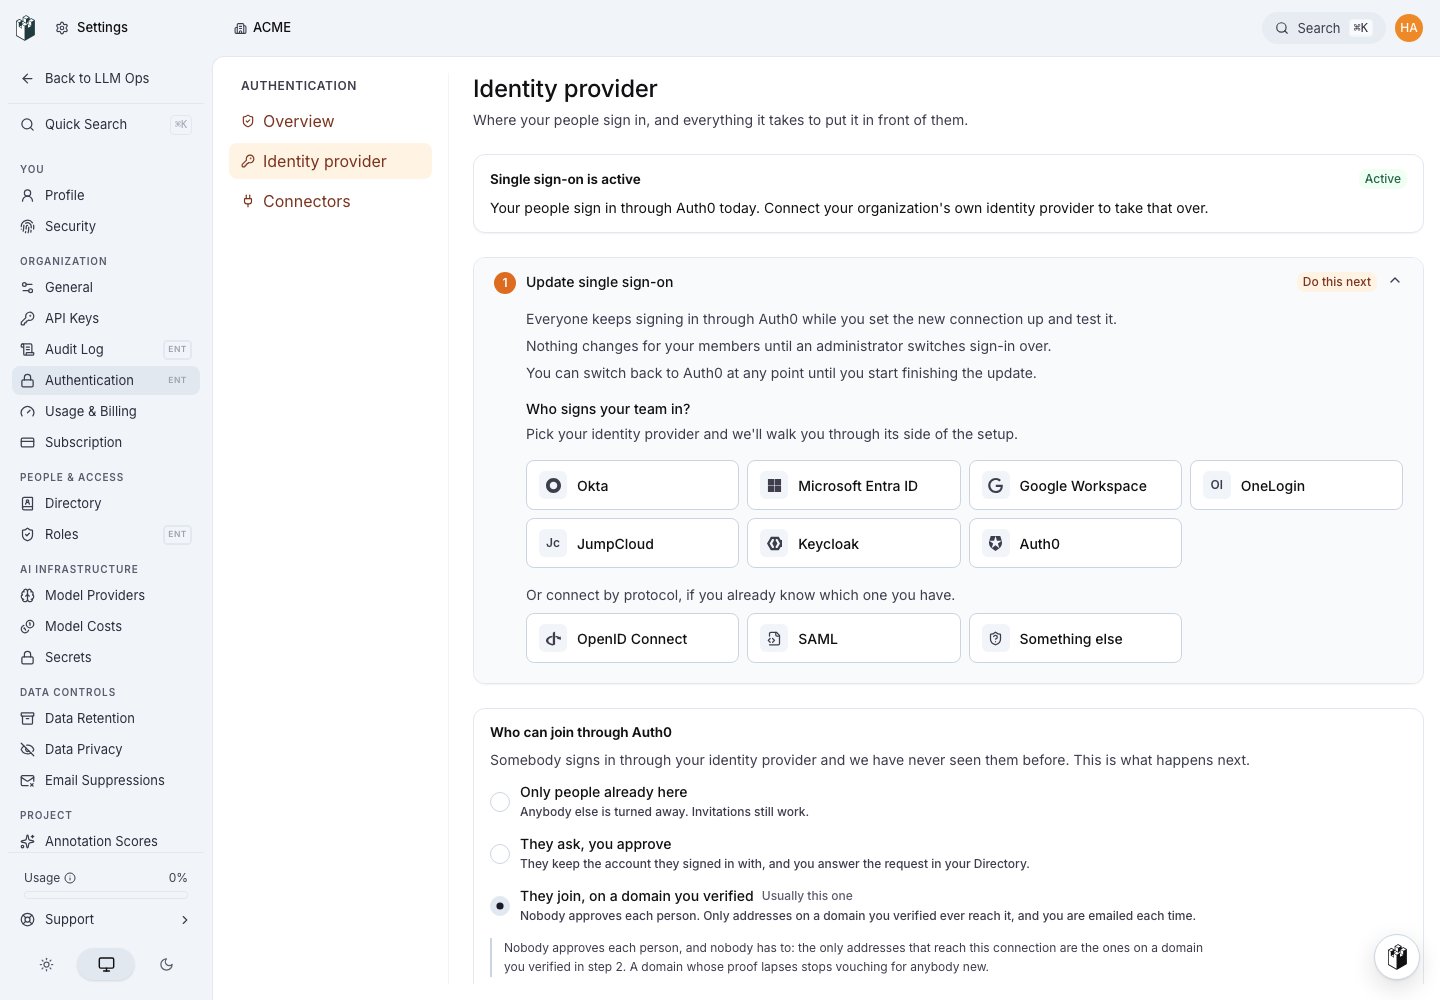
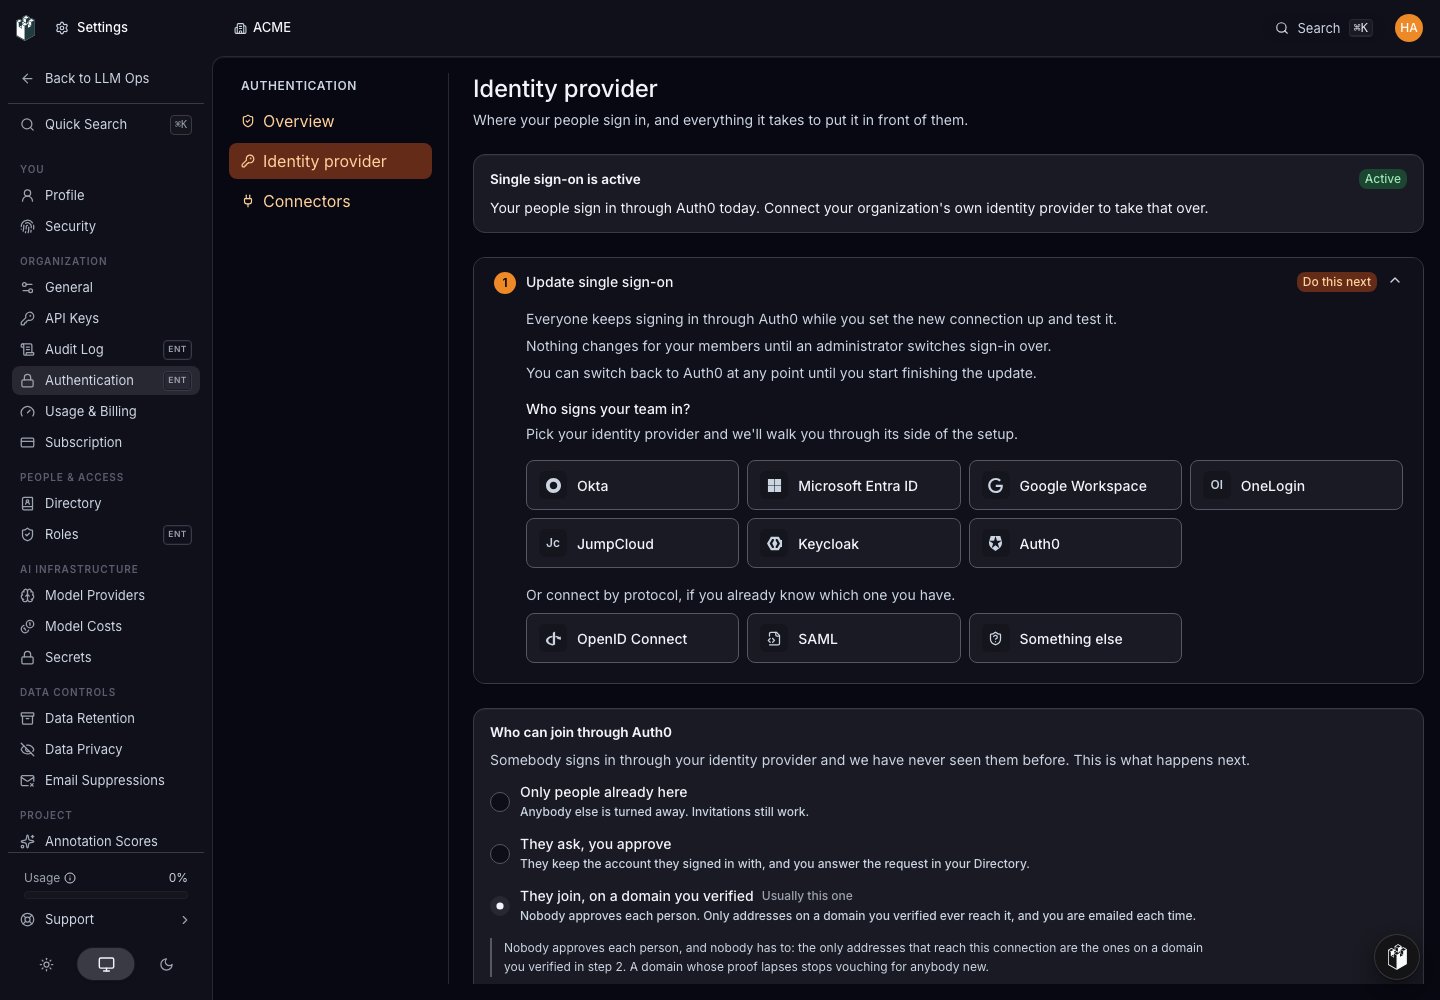
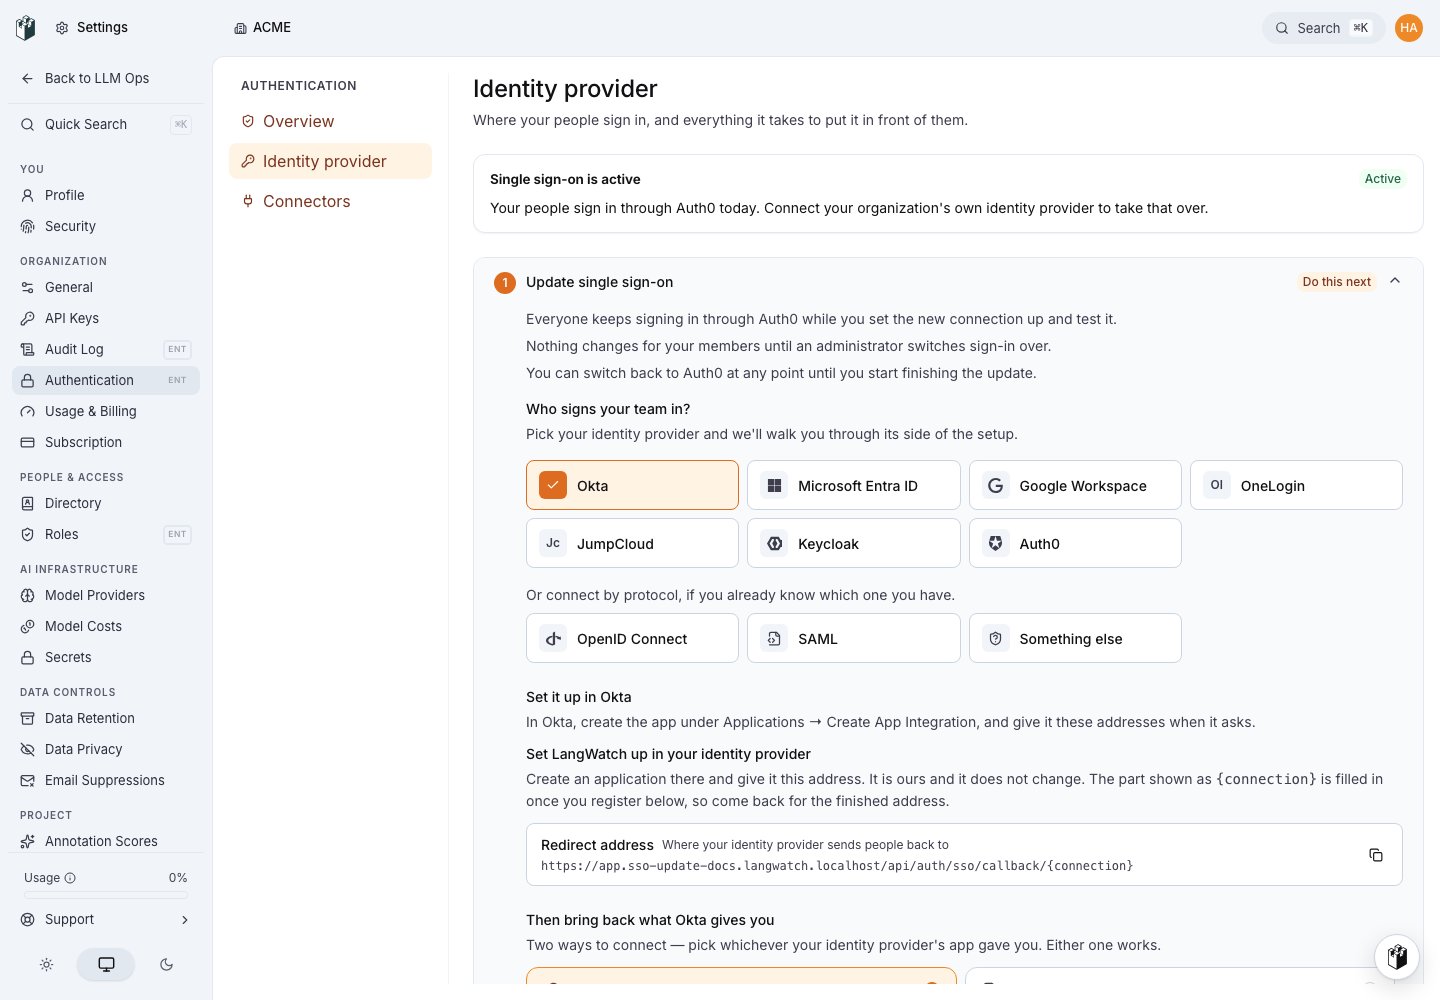
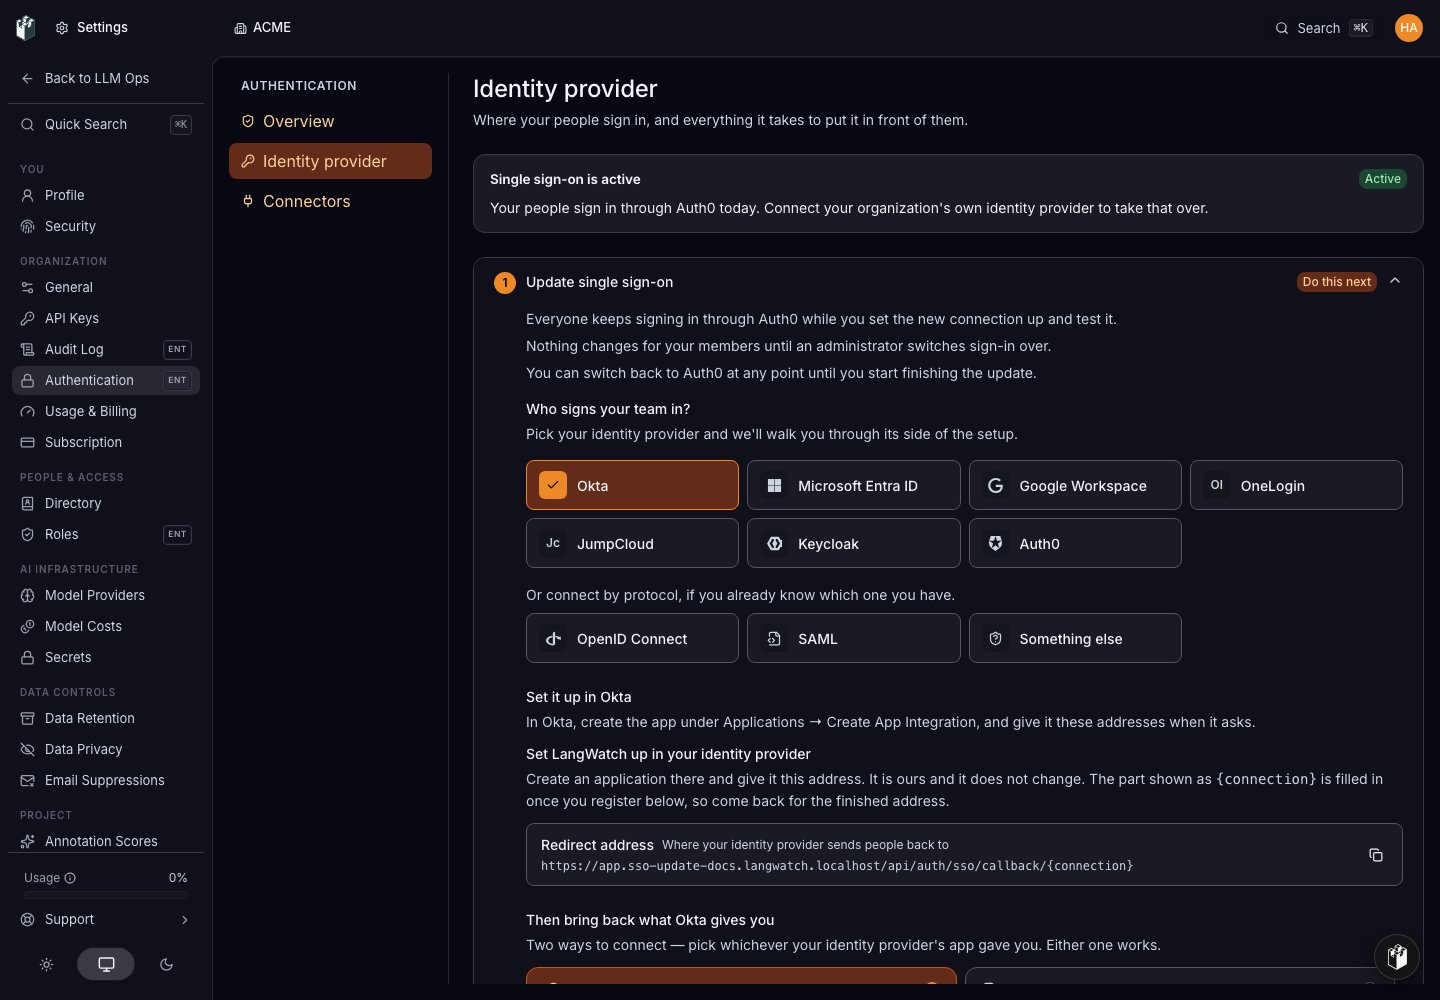
- Under Who signs your team in?, pick your provider. If it is not listed, pick OpenID Connect or SAML by protocol.
- Give it our addresses. Create an application for LangWatch in your identity provider and paste the addresses the page shows when it asks for them. The table below says where that screen lives in the common providers.
- Then bring back what it gives you. Choose how you will connect: a client id and secret (OpenID Connect), or a metadata file, sign-in address and signing certificate (SAML). Either works. Fill the fields in with the values your provider’s application shows.
- Give the connection a name your administrators will recognize, for example the provider’s name, and select Register.
Where to find the equivalent screens
Any other provider that speaks OpenID Connect or SAML works with the protocol
tiles.
3. Set the new connection up
The page now shows the setup steps for the new connection and, above them, an Update status. It reads Setting up until the connection is ready to test, and the Signing people in row still names your previous provider.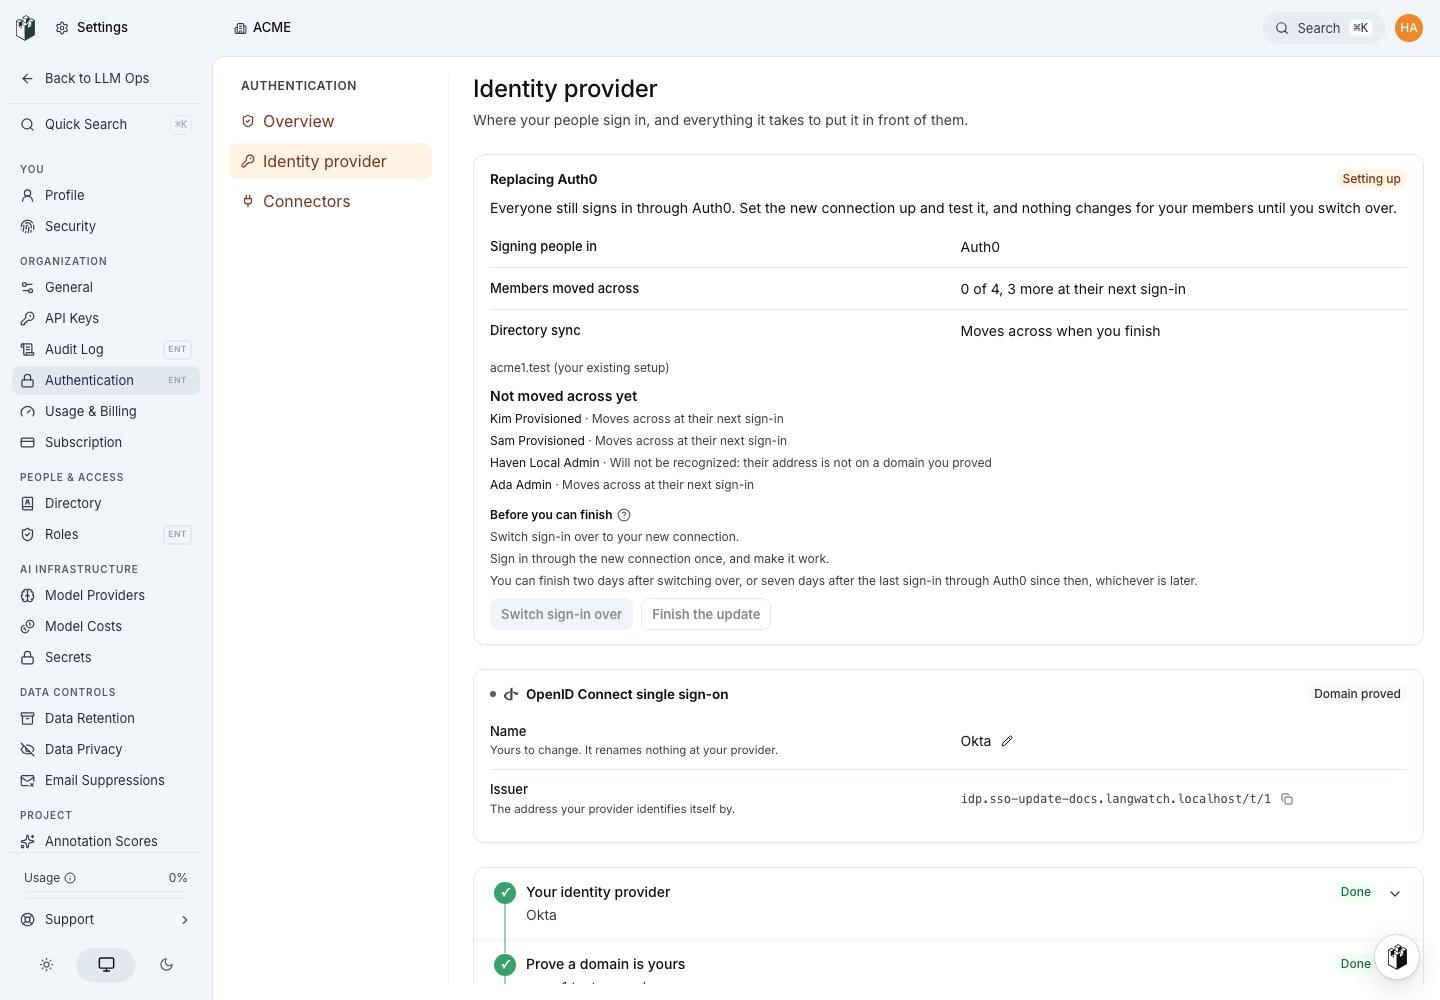
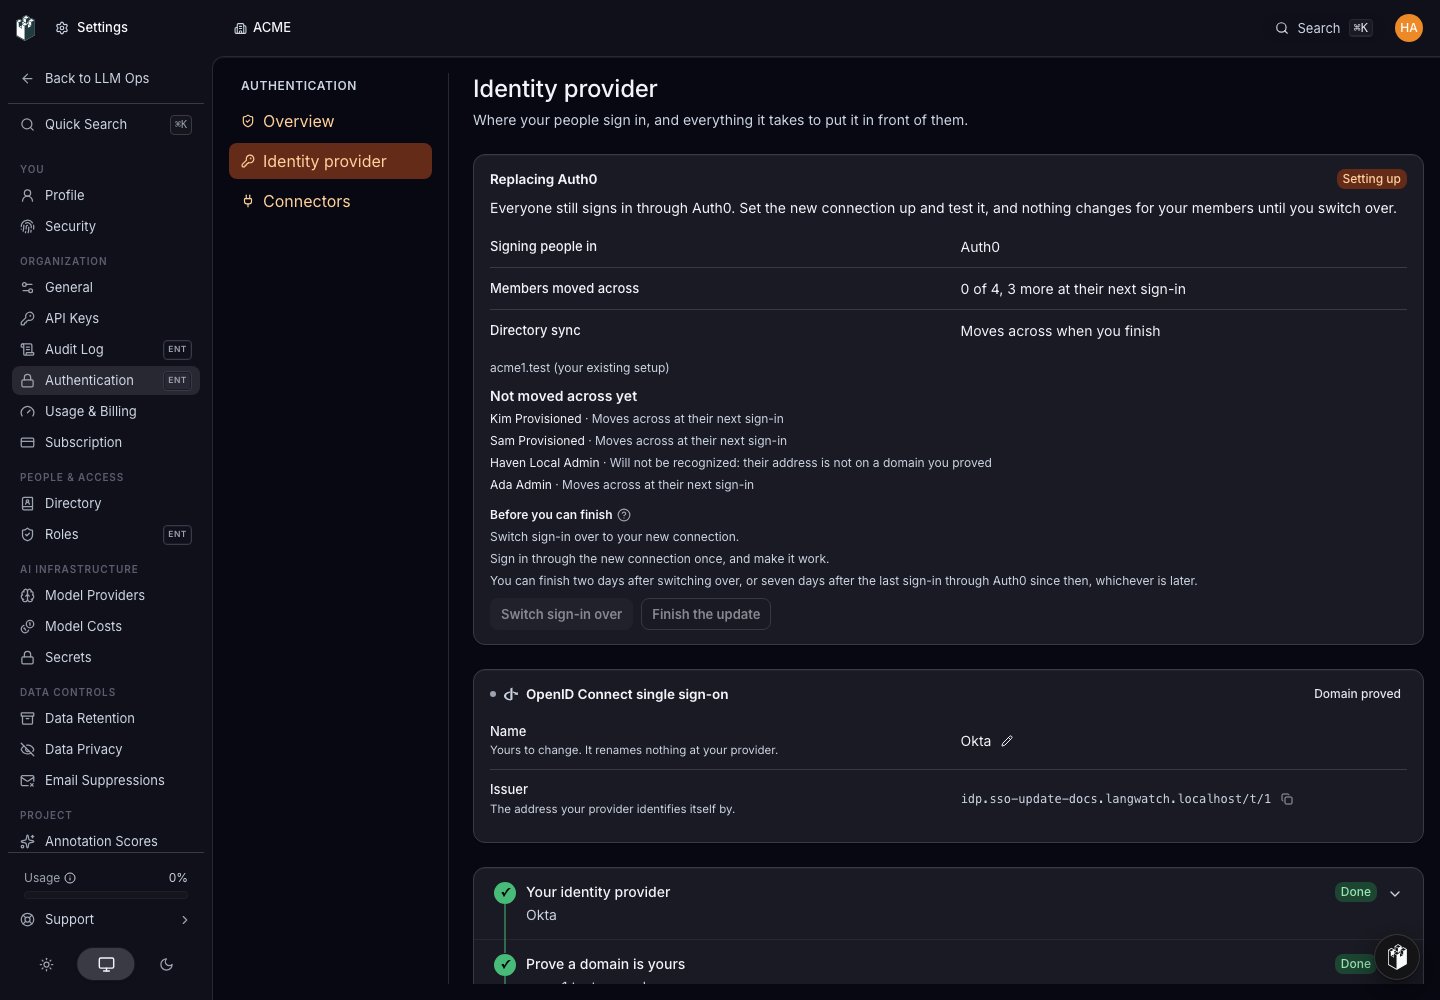
- Prove a domain is yours. Add the domain your people sign in with and complete the DNS or file check.
- Sign in through it once. Complete a test sign-in through the new connection. This replaces your current browser session on purpose; the completion screen explains how to get back.
- Name someone who can still get in. Choose the administrator who keeps a password route if the provider is unavailable.
- Say who it lets in. Choose the arrival policy for the new connection and confirm it.
- Turn it on. Select Go live. This makes the new connection available to switch to. It does not move anybody yet.
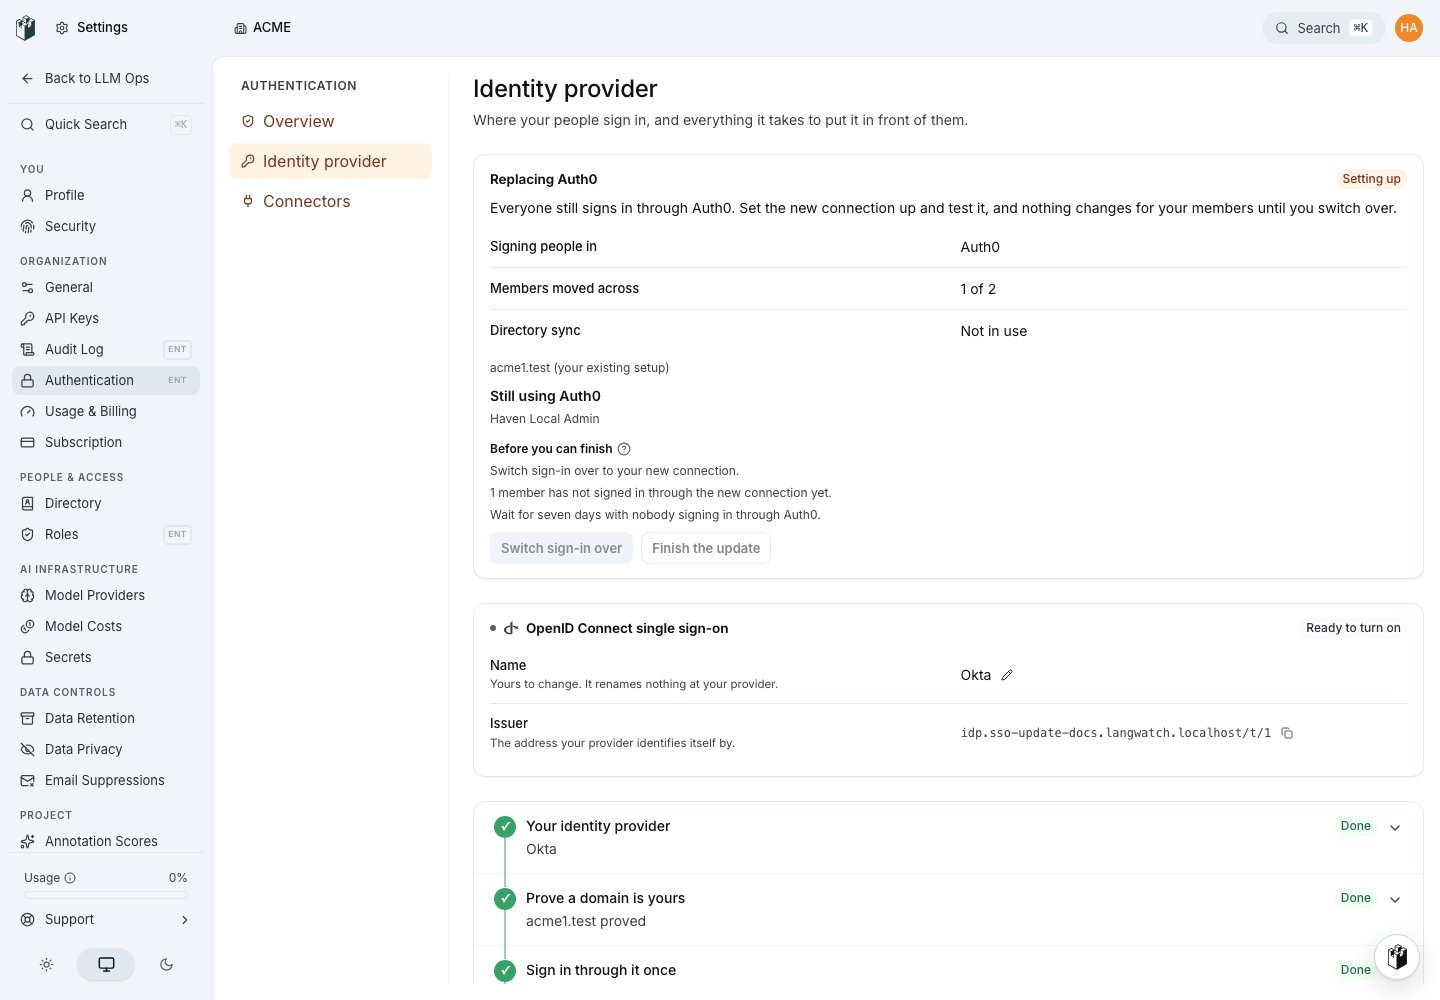
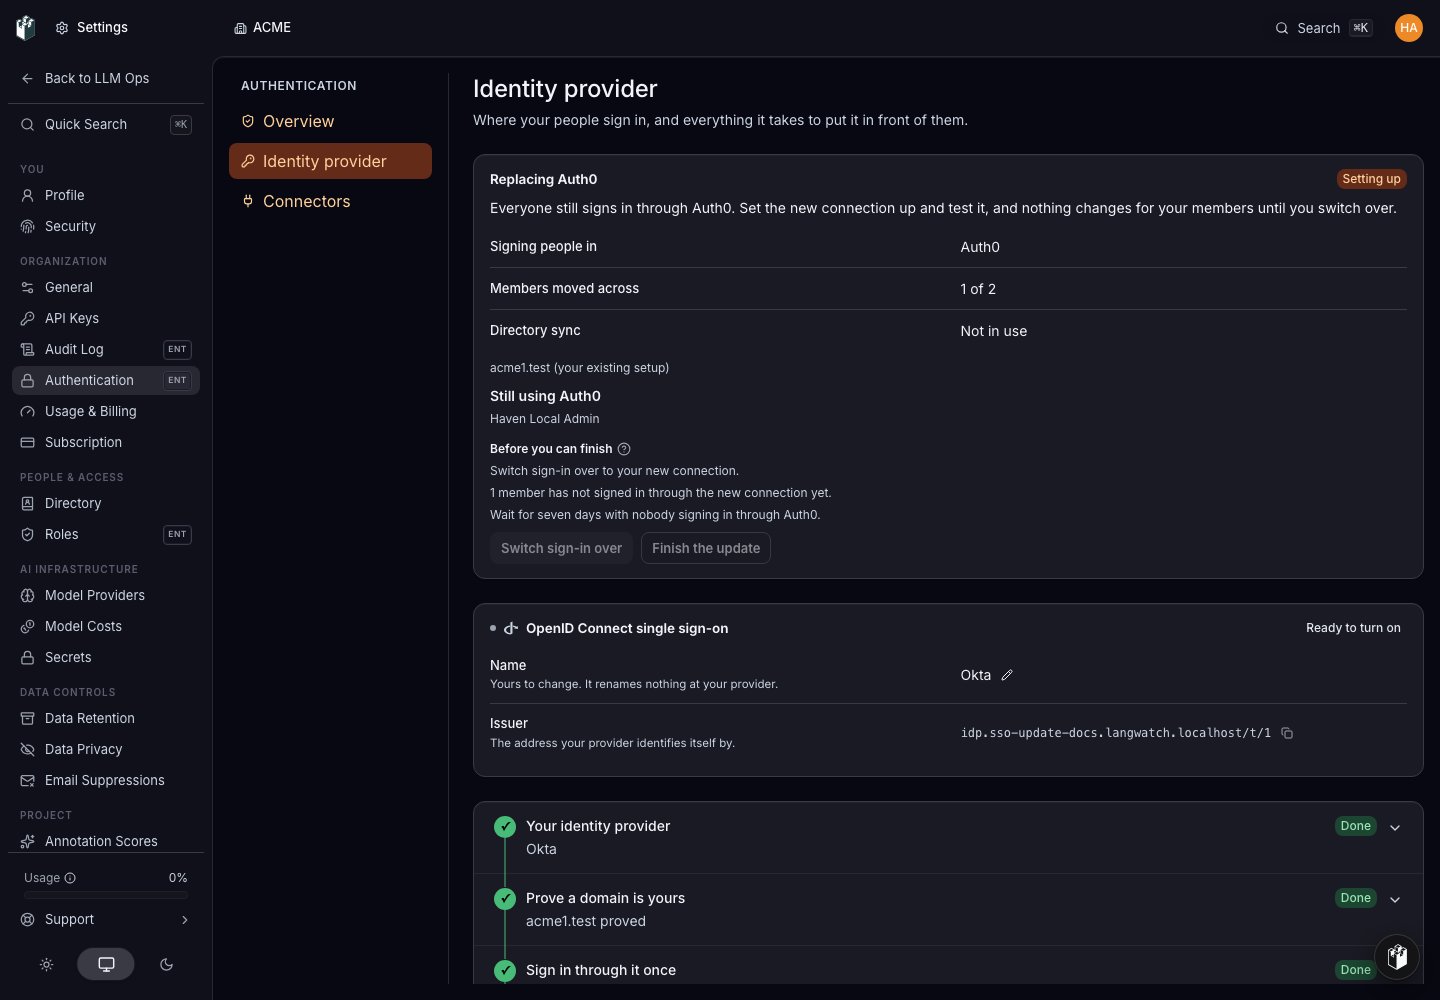
4. Switch sign-in over
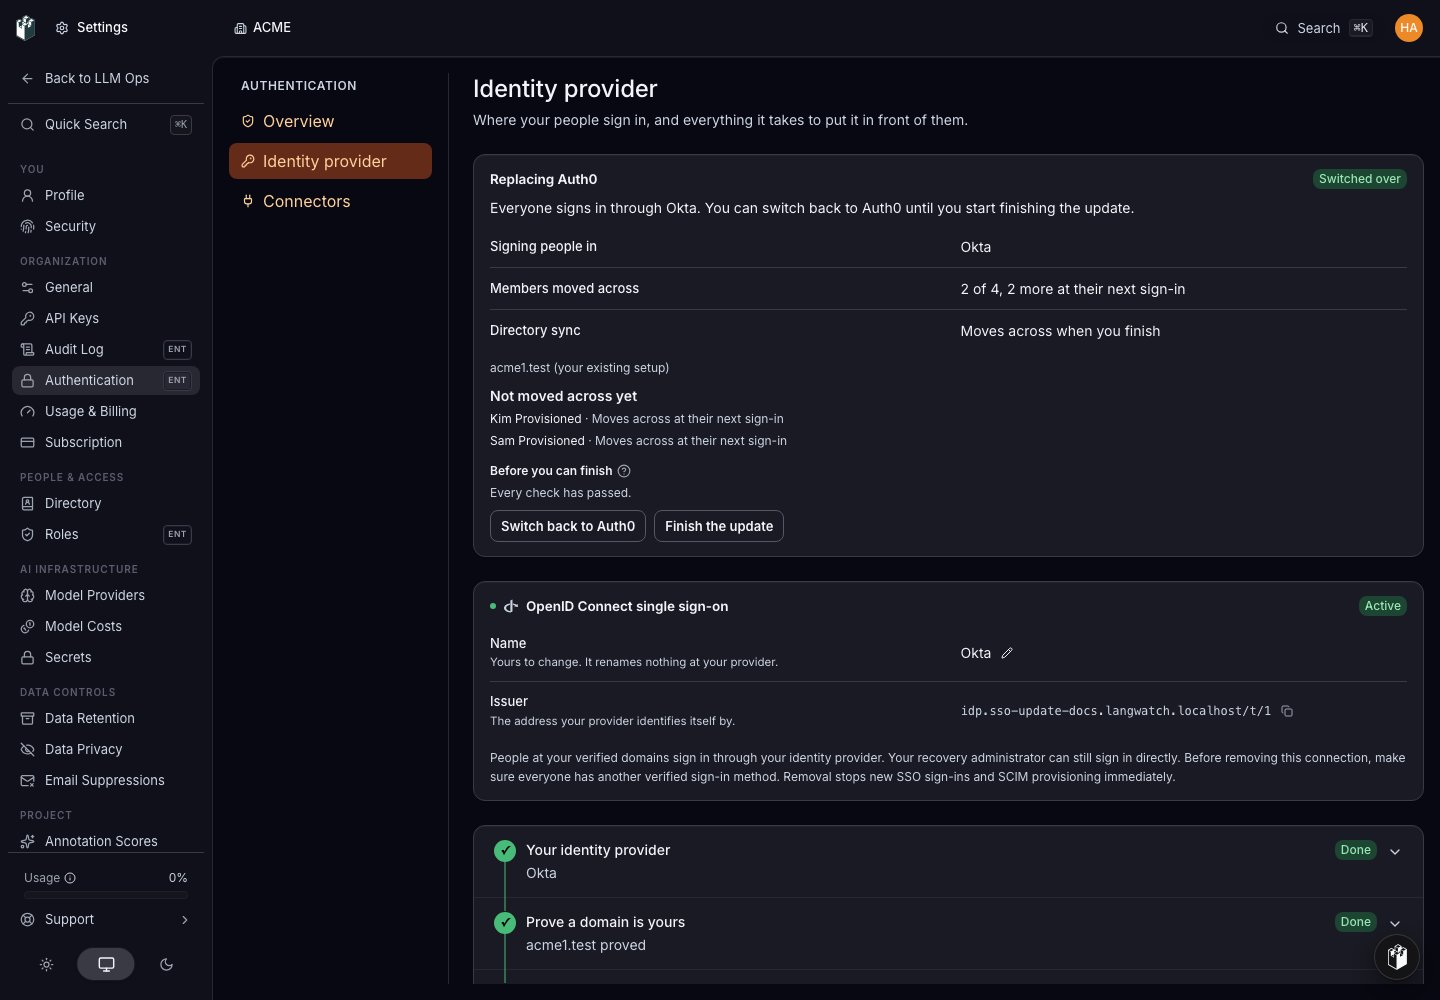
When the new connection is on and a test sign-in through it has worked, the update offers Switch sign-in over. Select it. From that moment every sign-in from your verified domains goes through your identity provider, and the status reads Switched over.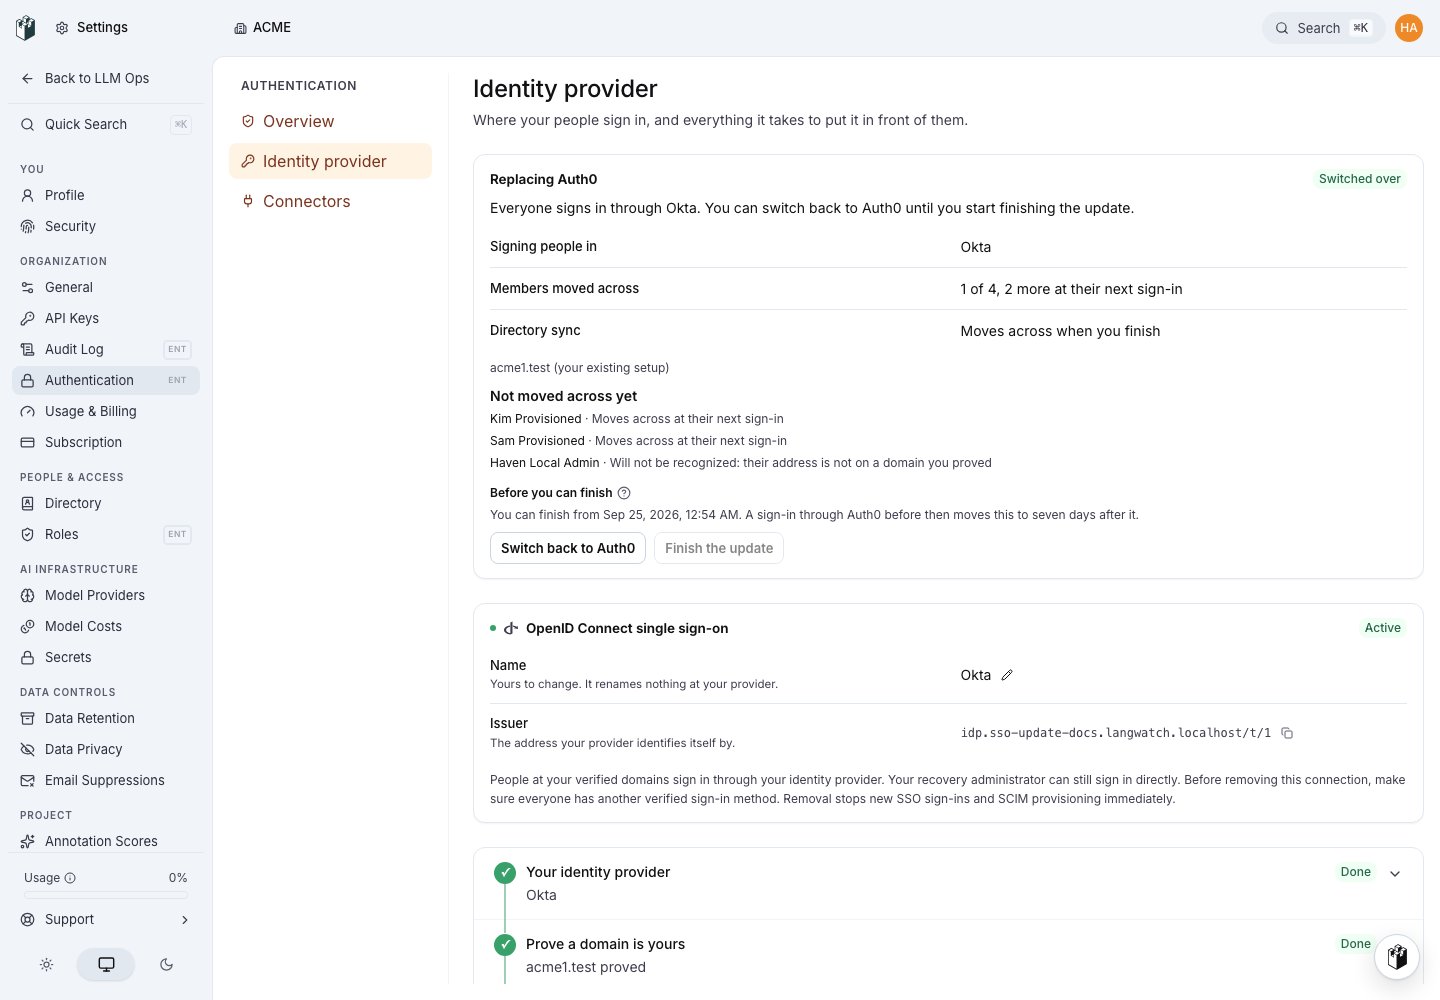
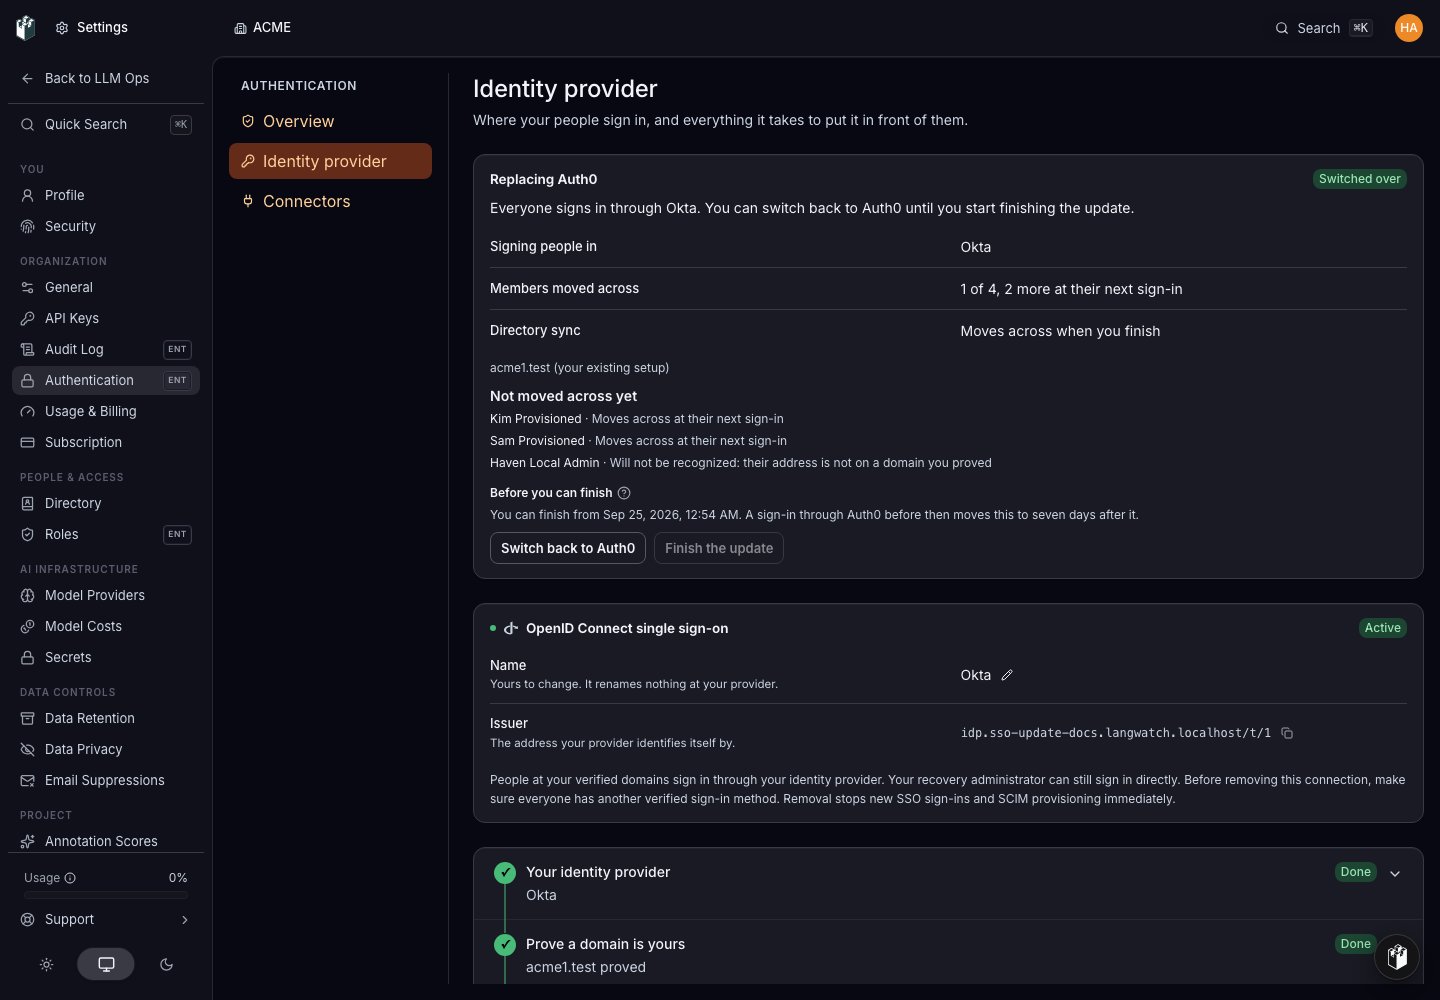
If something is wrong, Switch back to your previous provider returns
everybody to it immediately. You can switch back and forth until you start
finishing.
5. Clear what is outstanding
Finishing the update is refused until every condition below is true. Under Before you can finish, the page lists only the ones still outstanding, each with what to do about it. Once they are all met it reads Every check has passed.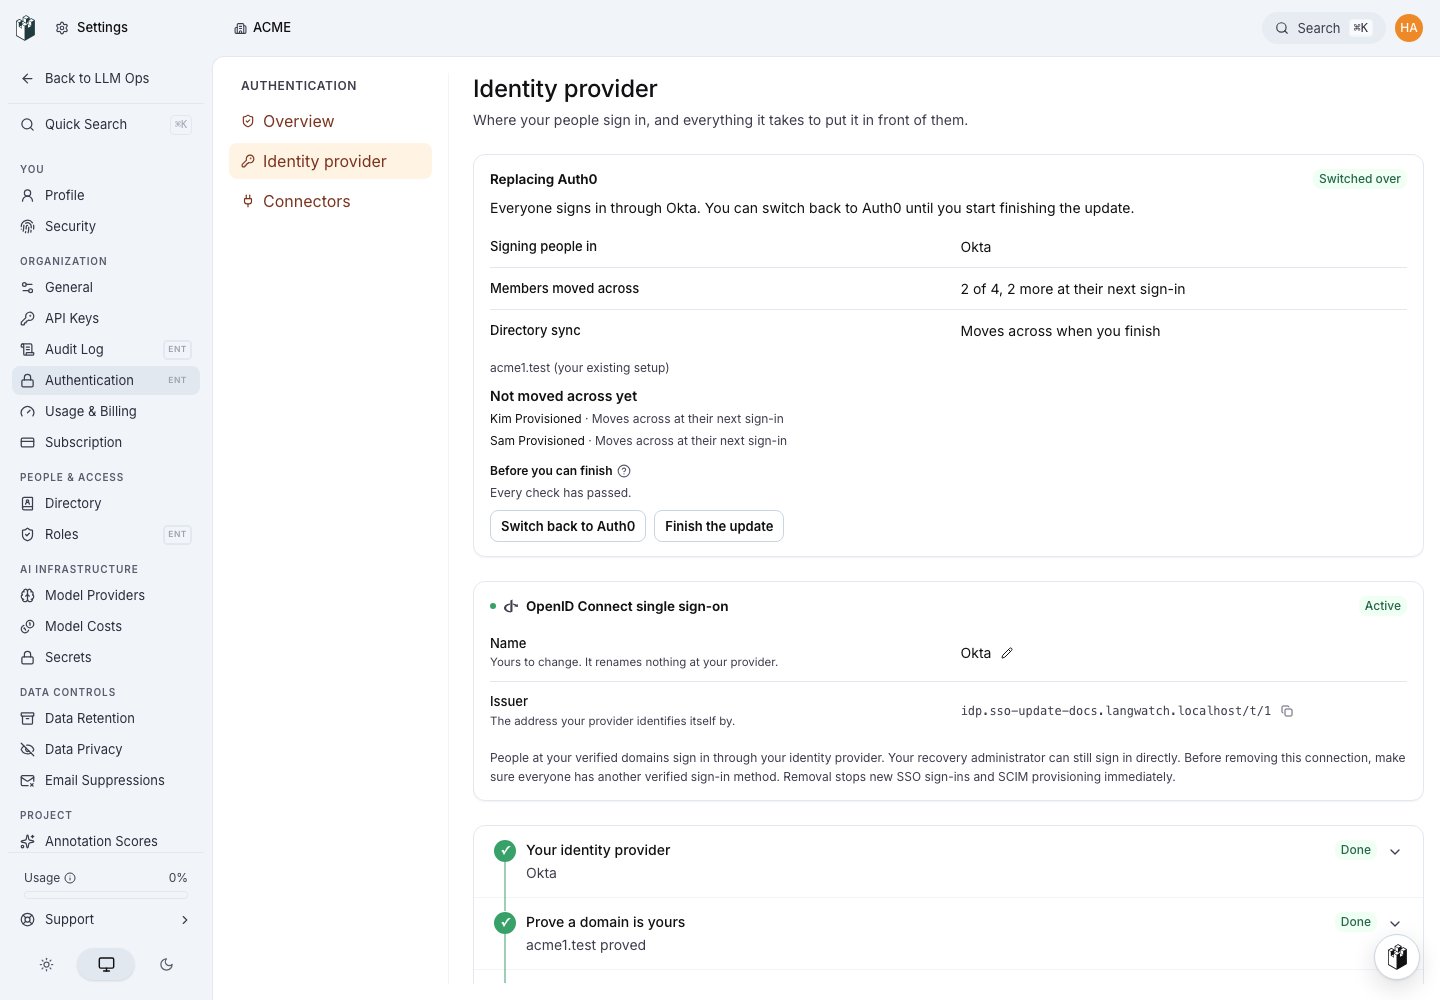
Directory sync
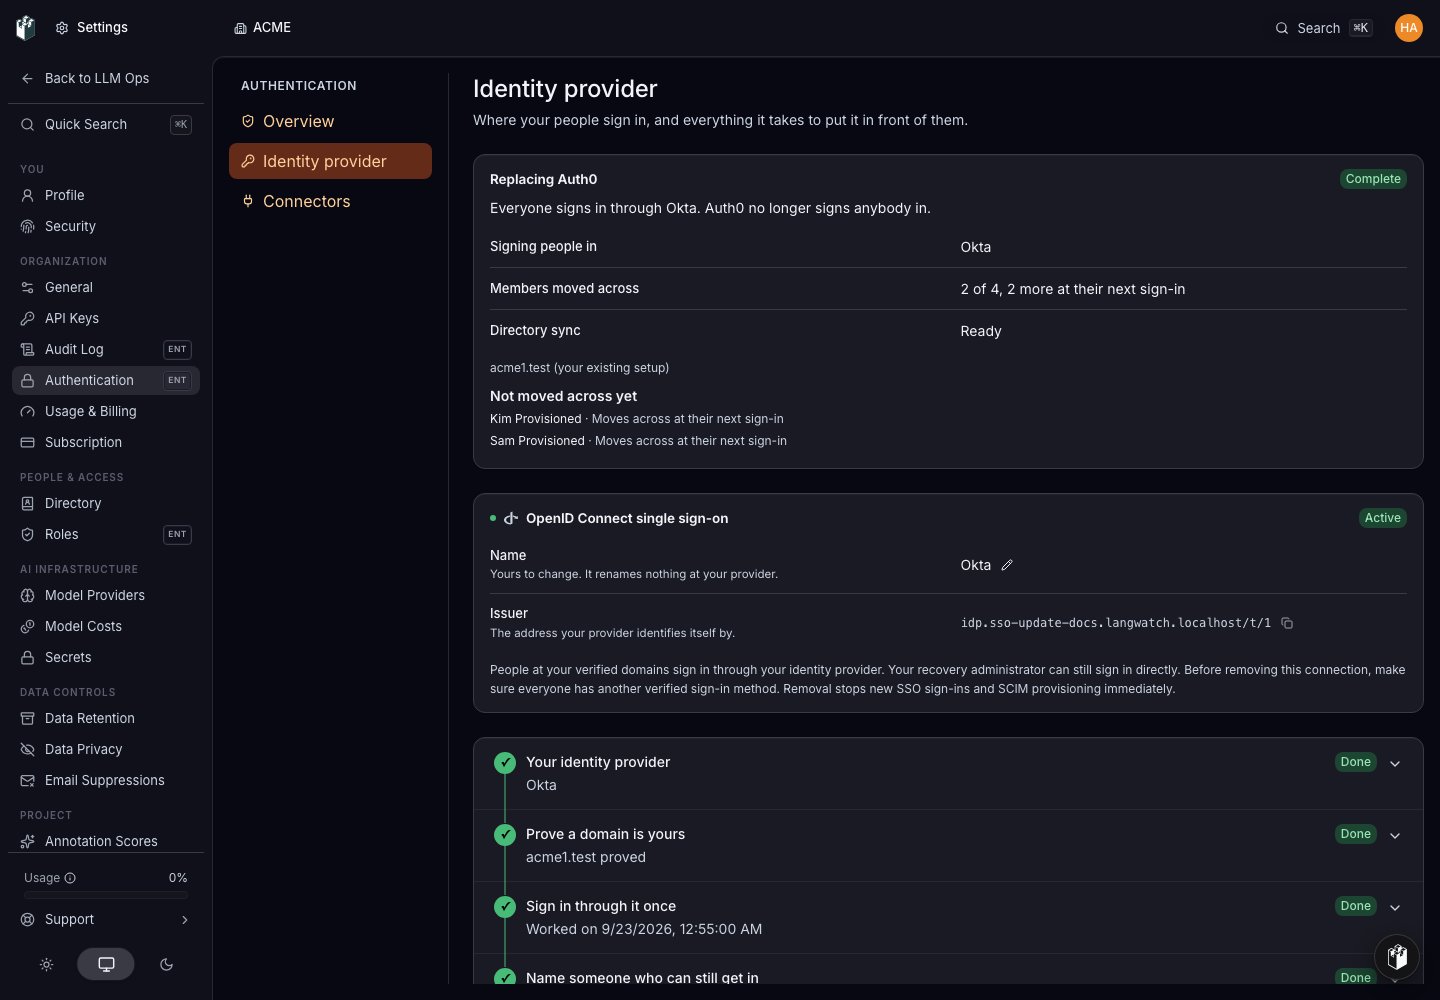
If your identity provider pushes people into LangWatch through SCIM today, that sync was set up together with your sign-in, and you never held its token. So the update does not ask you to touch it. The Directory sync row reads Moves across when you finish while the update is in progress, and Ready once it has finished. Finishing moves the sync to the new connection: the token your identity provider already presents keeps working, the people and groups it provisioned stay provisioned, and the next push lands on the new connection. Nobody is deprovisioned by the switch. People the sync provisioned who have never signed in do not hold the update either. The new connection recognizes them by their address like everyone else, and the page lists each of them the same way it lists any other member. If you had already issued a token for the new connection yourself under Settings > Authentication > Connectors, both tokens work after finishing. You can revoke the one you no longer use there.6. Finish the update
When every check has passed, select Finish the update. The status reads Finishing while access through the previous provider is taken away, then Complete: your new connection is the only way your people sign in.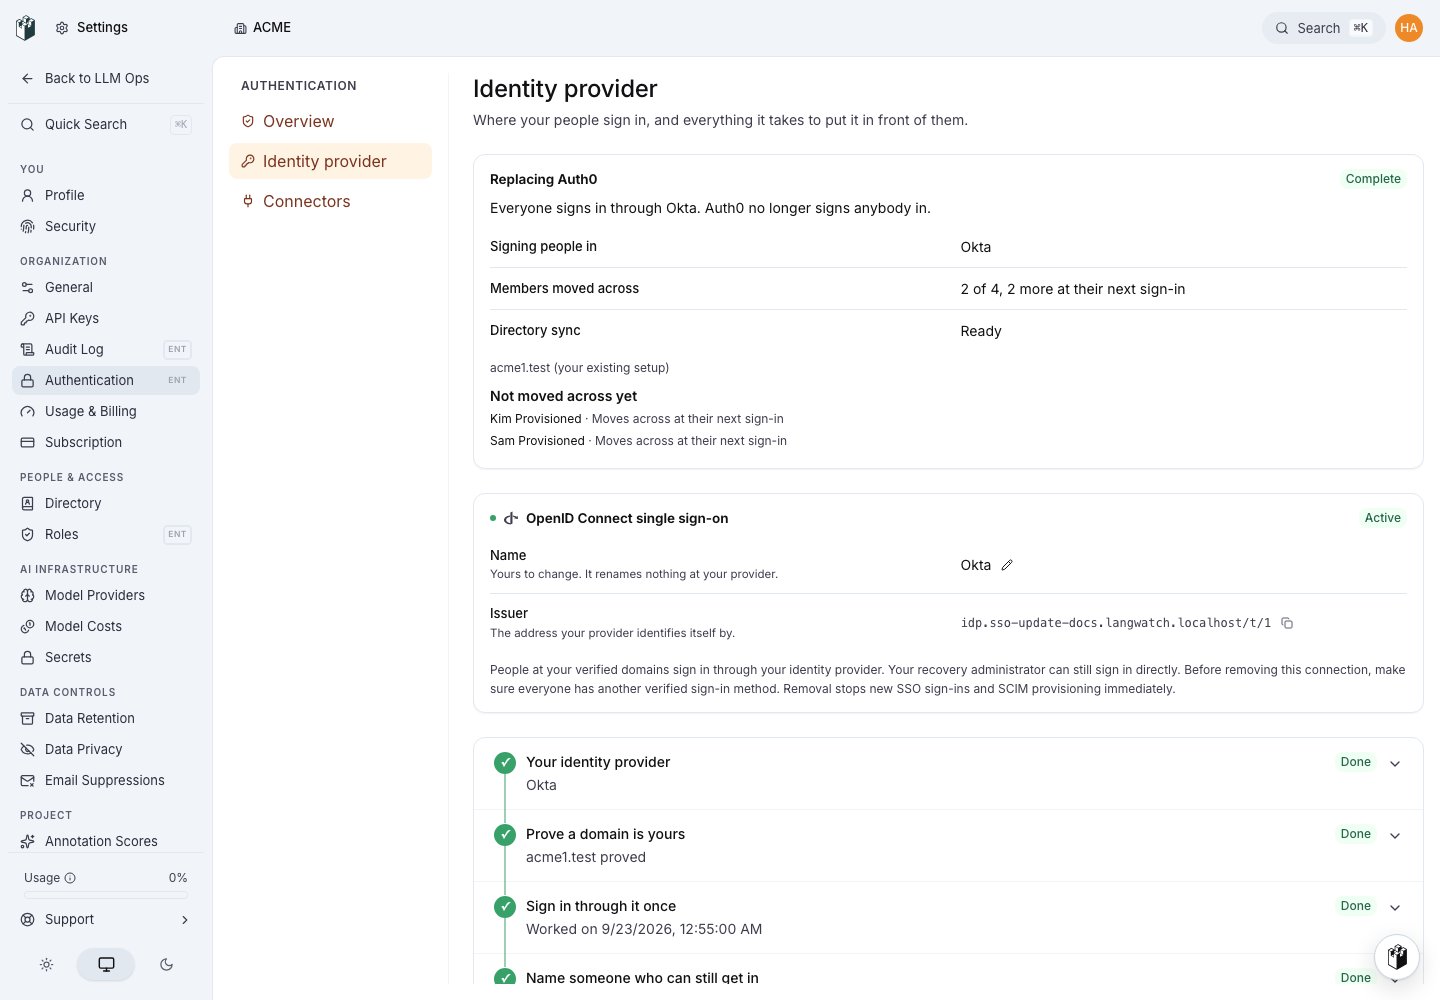
If you get stuck
- You see the status but no form. You hold
sso:viewbut notsso:manage. Ask an organization administrator to do the update. - Registering is refused because of the plan. The organization is not on an Enterprise plan. Contact us to change plan.
- A member is asked to sign in through single sign-on and cannot. Until the update finishes they can still sign in the way they did before. Once it has finished, they sign in through your identity provider; if they have been removed from it, they need to be added there first.
- Finishing is refused for a reason you cannot resolve. Shared accounts and accounts covered by another organization’s provider need a hand from us. Contact support with your organization name.